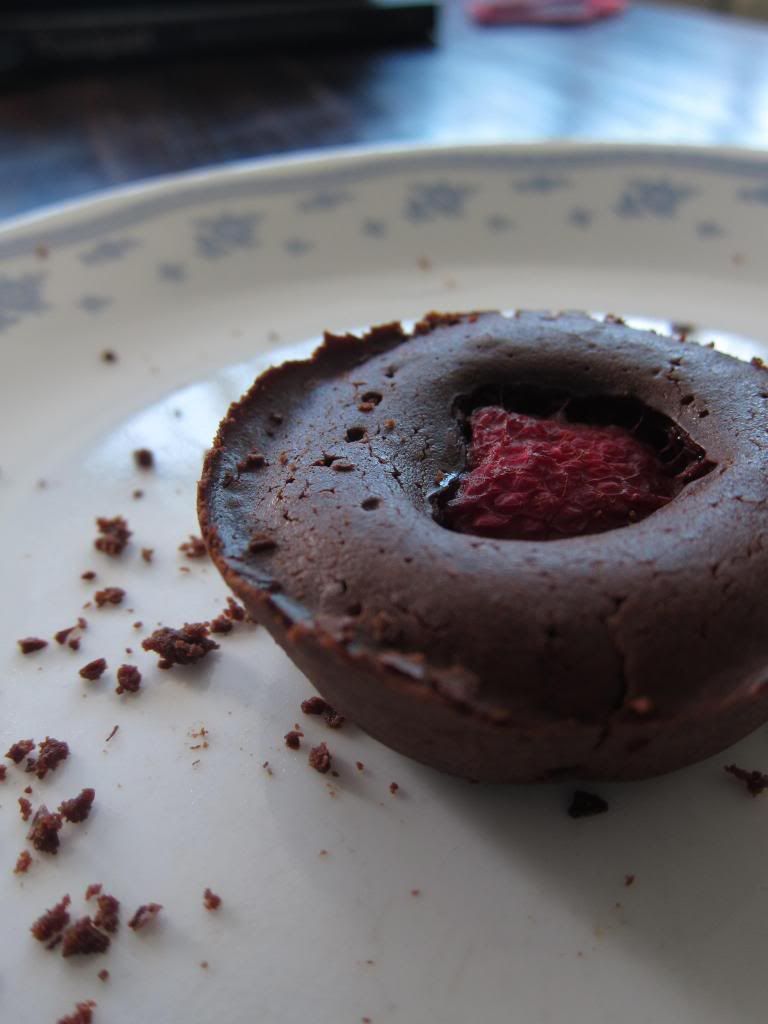
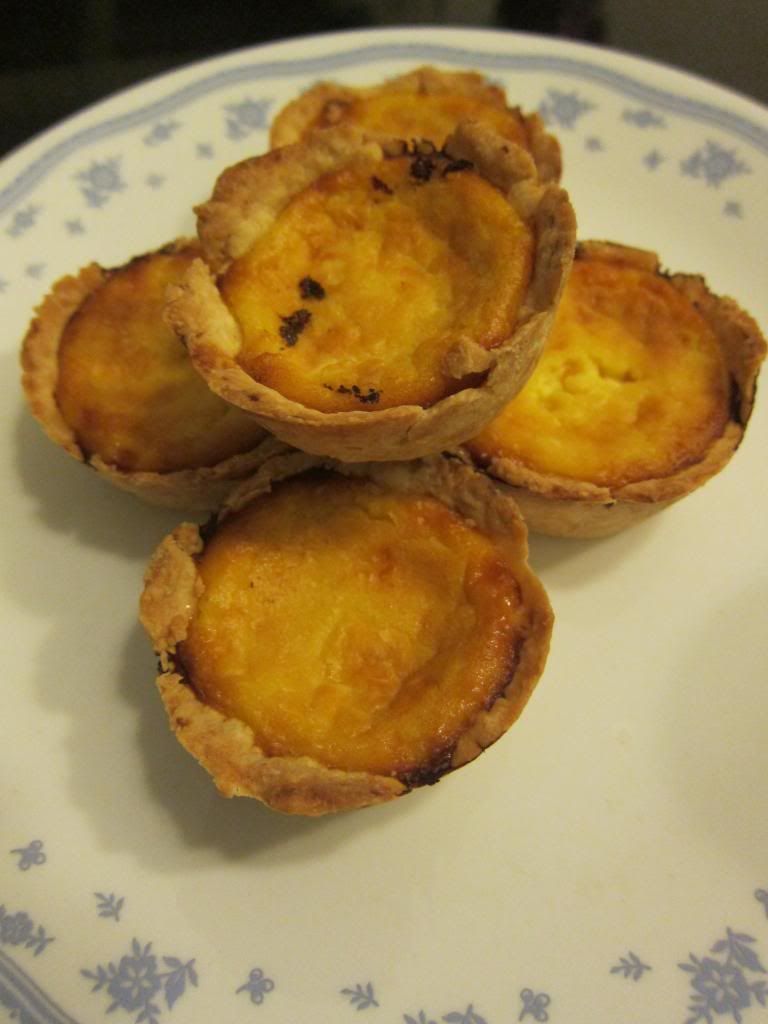
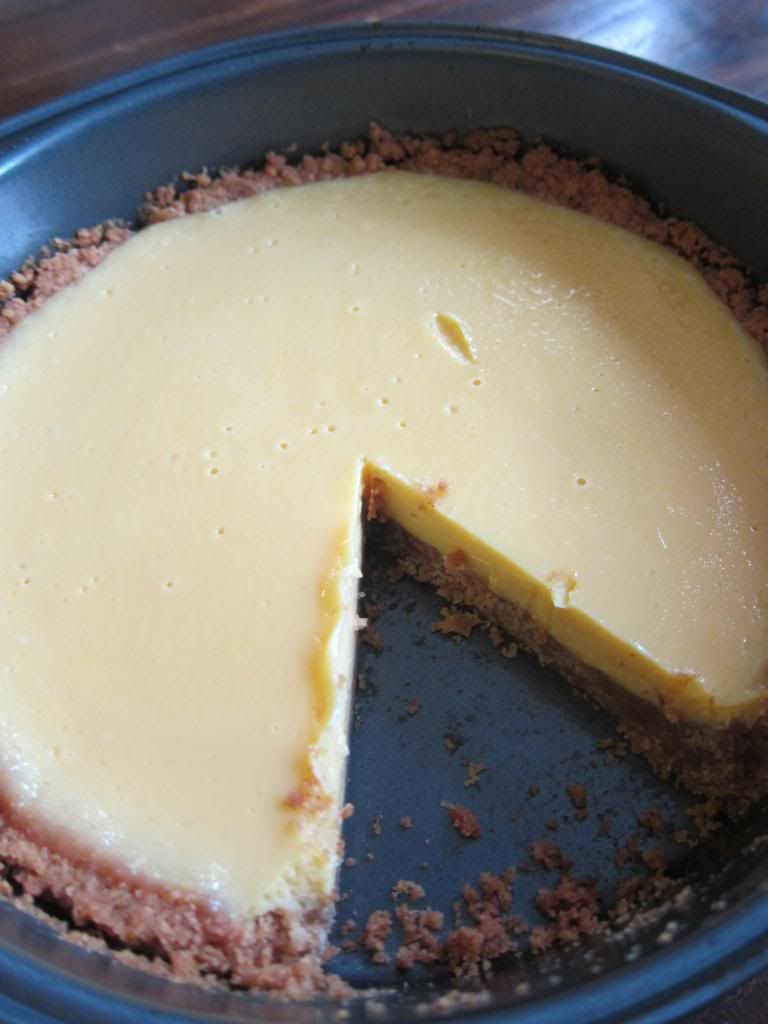
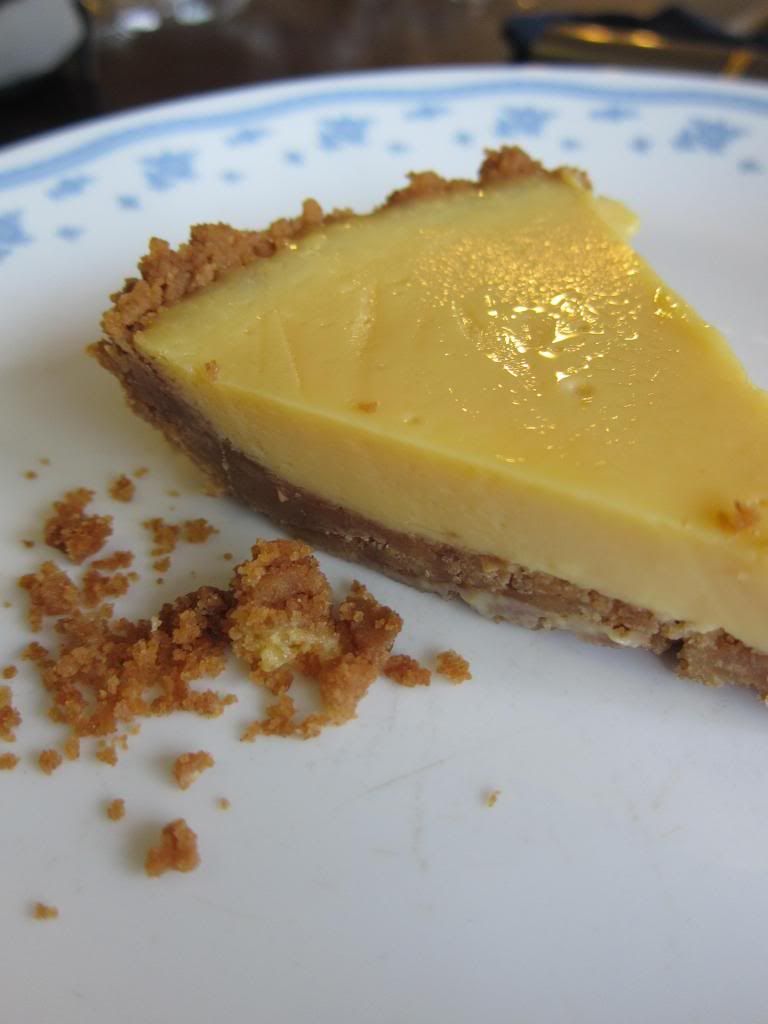
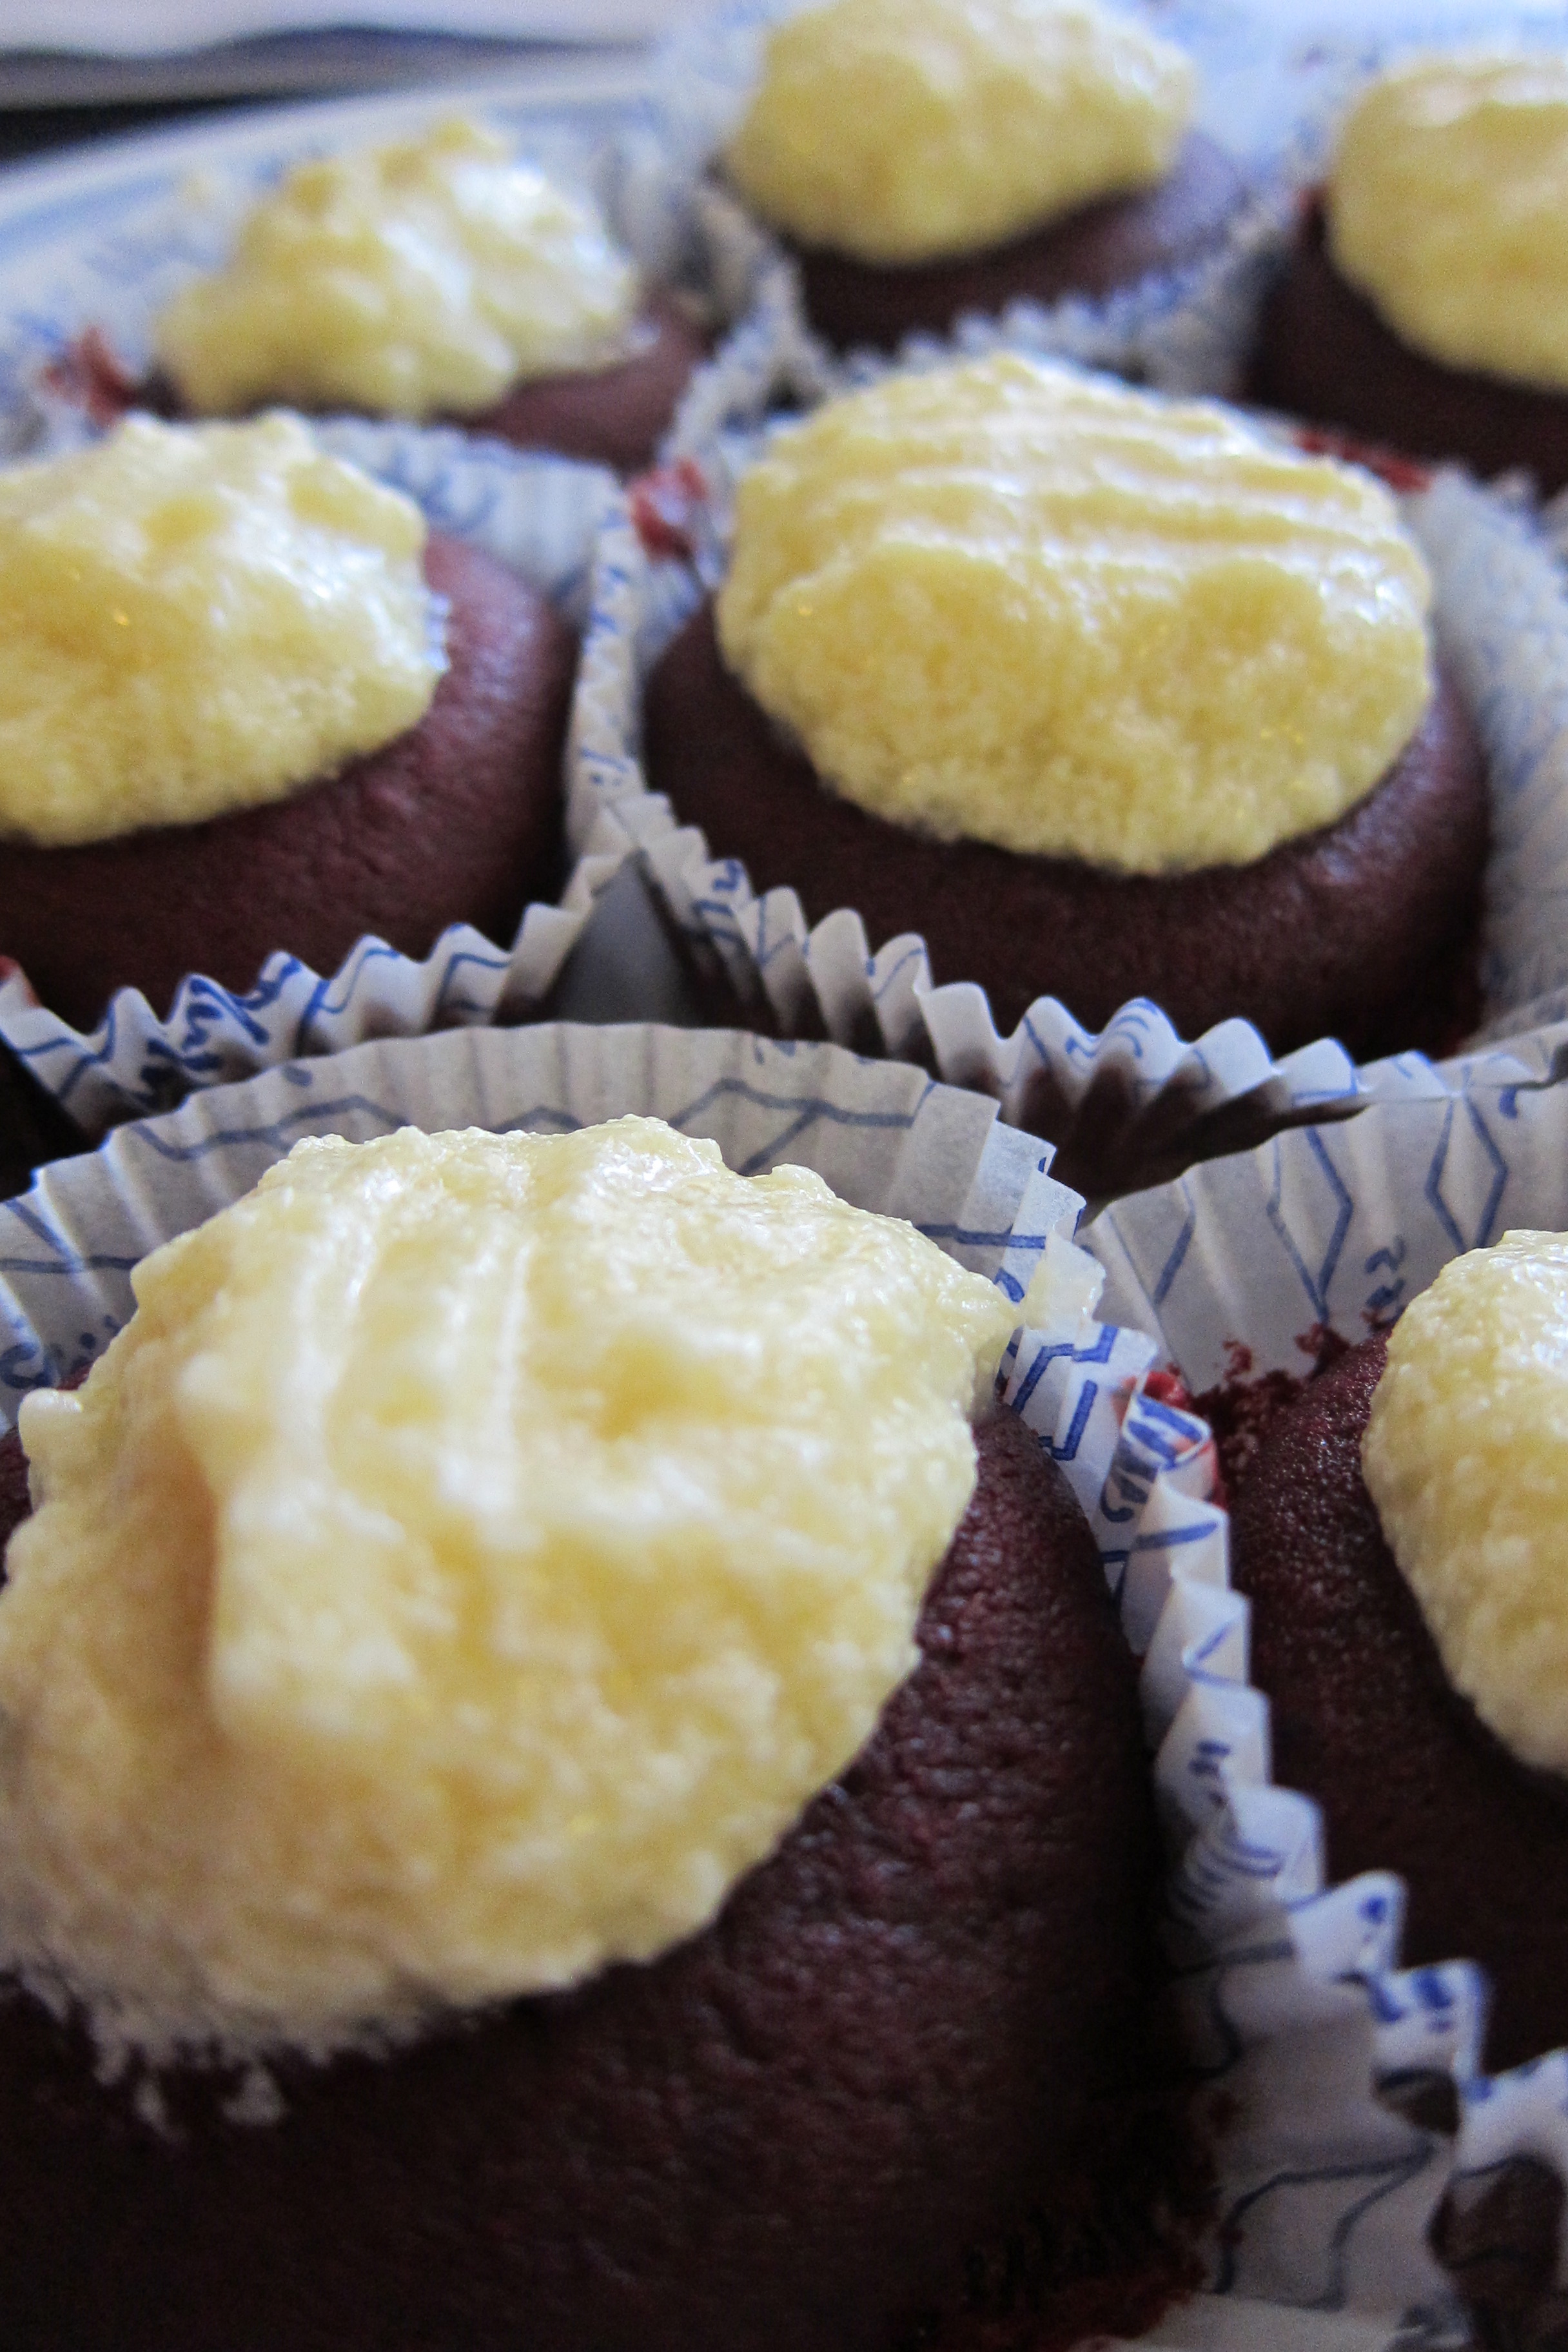
it's two more hours to the New Year!!! here are just some photos from the last week to round up the end of 2013 (:
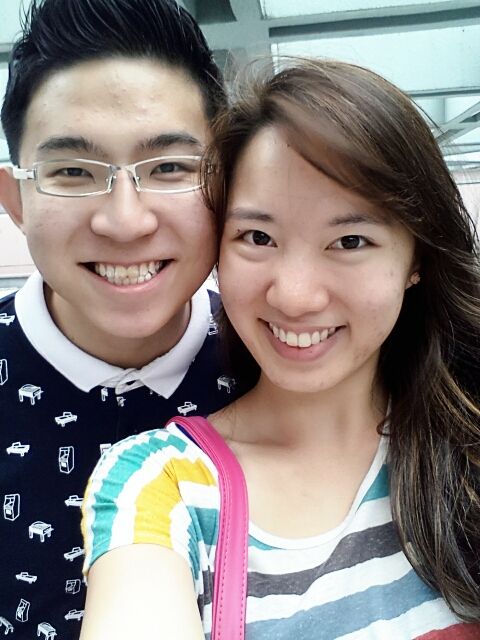
 look who's back in time for 2014!!! :))))) so happy to have my darling boy back! ^^ these three weeks without him seemed to pass reaaaaally slowly, but it only just made me treasure our relationship even more :') it has been a pretty crazy year year for us - going on exchange together was quite an experience :p but I'm really thankful for everything cos I think we've turned out much better after that <3

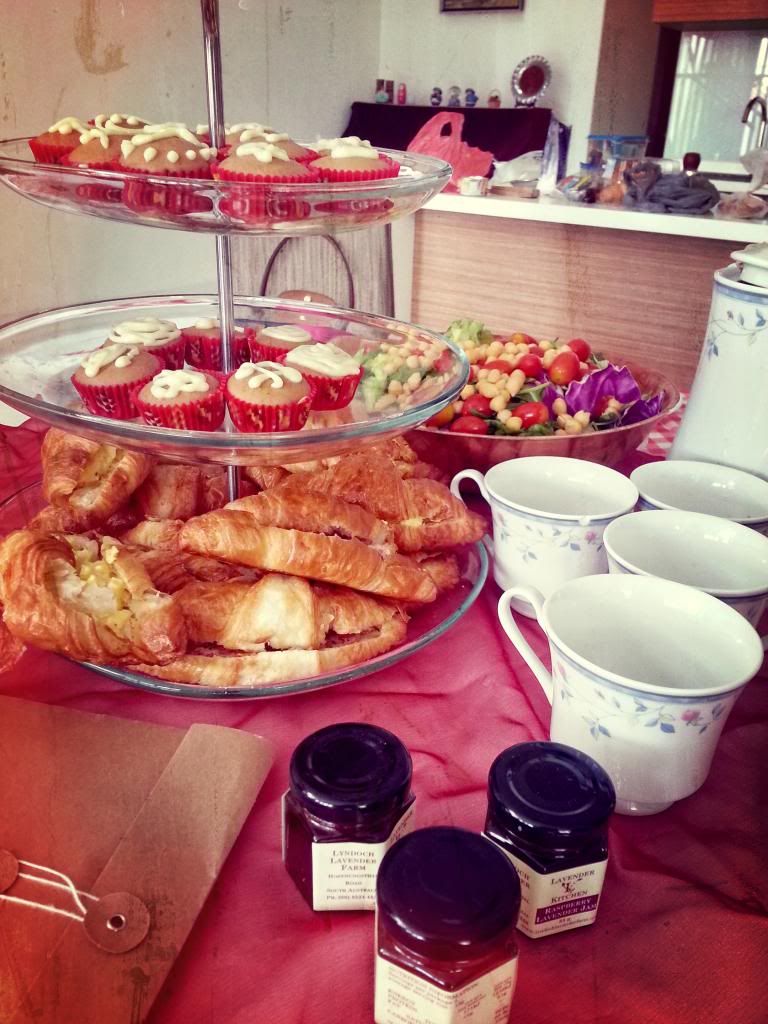
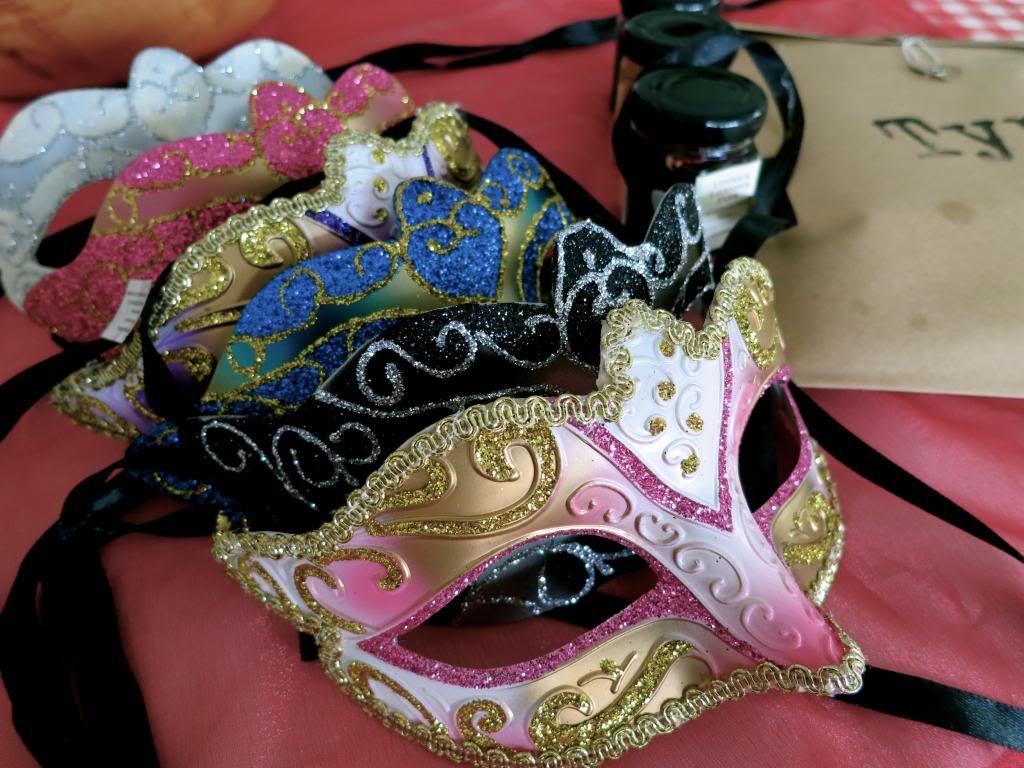
 had the Glitter & Glamour Masquerade Tea Party with my favourite girls just over the weekend! ^^ hehe sounds like a pretty complicated theme aye? :p haha but it was so much fun dressing up and i'm so proud of the table setting which looked like a real tea party! this picture isn't very good, but anyway, it was so much fun! big thanks to the sweet girls who all came over early to help prepare for this! feel kinda bad that they had to do so much work, but really appreciate it! :)
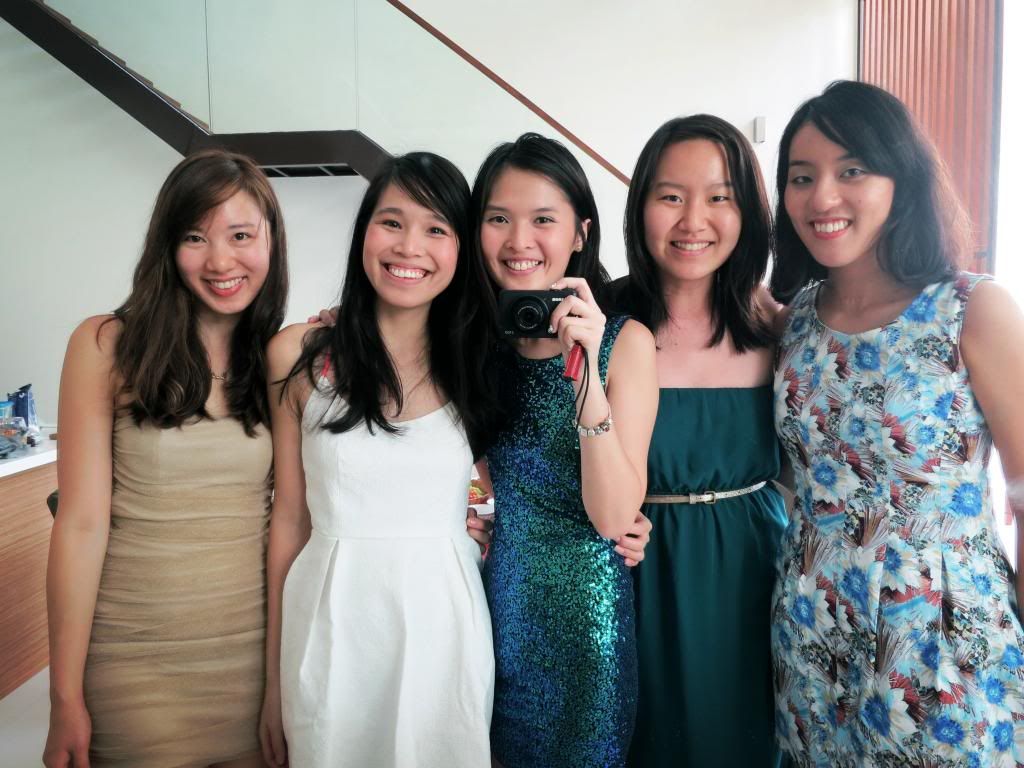
 love these gorgeous ladies! :) <3 as you can see, we all put in lots of effort to make sure we fit the Glamour theme of the day. i guess it was pretty funny that we all dressed to the nines to have a tea party at home, but it was really fun!! (: and we should totally do this again (:
 isn't the set up so pretty?! :) haha i really like it. so happy that i managed to find all these tea party-worthy props at home! ^^
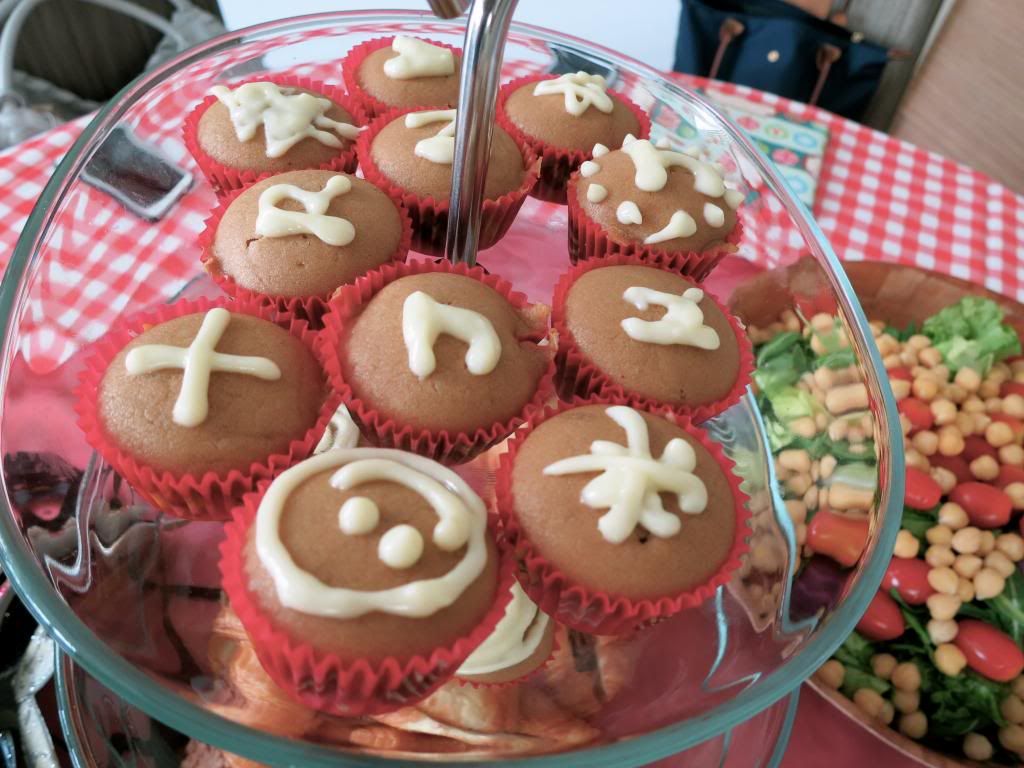
and for the menu that day, i made Earl Grey Cupcakes and a Maple Bacon Quiche! ^^ super love the flavour of the earl grey cupcakes, which was really punchy!! they could have been more fluffy though. still working on that ;)
 Earl Grey Cupcakes
Ingredients:
150ml milk
4 earl grey teabags
150g plain flour
80g caster sugar
1.5 tbsp baking powder
50g unsalted butter
2 eggs
a pinch of salt
1. Gently warm the milk in a pan over moderate heat. Add the earl grey teabags to the milk. When the milk starts bubbling, remove it from the heat. Leave the teabags in the milk to infuse for at least an hour, or at best overnight in the fridge.
2. Pre-heat the oven to 170 degrees C. Line a cupcake tray with cupcake cases.
3. Stir the flour, sugar, salt and baking powder together in a big bowl. Mix in the butter until the mixture looks like breadcrumbs.
4. Strain the teabags from the milk. In a separate bowl, whisk the egg gently. Add the milk to the egg and whisk again gently.
5. Add the egg mixture to the dry ingredients and mix together for a couple of minutes until fully combined.
6. Spoon the mixture into the cupcake cases. Bake in pre-heated oven for 20-25min until risen & golden.
 Maple-bacon Quiche
Ingredients:
100g bacon
1 small onion, thinly sliced
3 tbsp maple syrup
3 large eggs
200g heavy cream
2 tsp thyme leaves
1 tsp salt
For the crust:
2¼ cup flour
1 tsp sat
1 tsp sugar
150g butter, cut into small pieces
¼ cup water
1. For the crust: Combine flour, salt and sugar. Add butter and mix until mixture is like breadcrumbs. Add water slowly until dough just holds together. Shape dough into a ball, cling wrap and refrigerate for 1 hour to 2 days.
2. On a slightly floured surface, rol out dough. Press it into a quiche pan. Prick bottom with a fork.
3. Preheat oven to 210 deg C. Line dough with parchment and cover with baking weights. Bake for 20min or until edges are just firm. Remove weights and parchment, bake for 20min more or until slightly golden. Let it cool.
4. Reduce oven to 190 deg C. Fry bacon in a pan till crisp. drain on paper towels and let it cool slightly. break into pieces.
5. Heat up oil from bacon. Add onion and cook till translucent. add maple syrup and 1 tbsp water and cook further for 1min. Let it cool slightly.
6. Whisk together eggs, cream, thyme, salt and add onion mixture. Pour into cooled tart shell. Scatter half the bacon on top.
7. Bake quiche till edges of egg mixture just set (15min). Scatter remaining bacon on top and bake for another 20min till puffed and golden brown. Serve (:
 another year has just flown by :O how amazingly fast is that. this year has been a rather weird one of sorts. 2012 was a blast for me (sorry the pictures all died on me >.< i think i deleted them accidentally :'( ) and so perhaps this year was much less outstanding in a sense. but i'm still very thankful for opportunities that have come along my way this year. more importantly, always so grateful for the people around me who've encouraged & loved me :')
just wanna share this article i read again recently (thanks SK for reminding me of this article and the other one, and for everything<3). i've actually glanced through it a number of times previously, but i never really understood it till i read it again yesterday. i guess it's especially pertinent to me now, which is why i read through it so thoroughly and made it a point to understand it. and so this is a New Year's Resolution for 2014, which is something i think is finally realistic enough for me to fulfil, though the last part would require some effort, and that's what makes it fulfilling:

and for the menu that day, i made Earl Grey Cupcakes and a Maple Bacon Quiche! ^^ super love the flavour of the earl grey cupcakes, which was really punchy!! they could have been more fluffy though. still working on that ;)
Ingredients:
150ml milk
4 earl grey teabags
150g plain flour
80g caster sugar
1.5 tbsp baking powder
50g unsalted butter
2 eggs
a pinch of salt
1. Gently warm the milk in a pan over moderate heat. Add the earl grey teabags to the milk. When the milk starts bubbling, remove it from the heat. Leave the teabags in the milk to infuse for at least an hour, or at best overnight in the fridge.
2. Pre-heat the oven to 170 degrees C. Line a cupcake tray with cupcake cases.
3. Stir the flour, sugar, salt and baking powder together in a big bowl. Mix in the butter until the mixture looks like breadcrumbs.
4. Strain the teabags from the milk. In a separate bowl, whisk the egg gently. Add the milk to the egg and whisk again gently.
5. Add the egg mixture to the dry ingredients and mix together for a couple of minutes until fully combined.
6. Spoon the mixture into the cupcake cases. Bake in pre-heated oven for 20-25min until risen & golden.

Ingredients:
100g bacon
1 small onion, thinly sliced
3 tbsp maple syrup
3 large eggs
200g heavy cream
2 tsp thyme leaves
1 tsp salt
For the crust:
2¼ cup flour
1 tsp sat
1 tsp sugar
150g butter, cut into small pieces
¼ cup water
1. For the crust: Combine flour, salt and sugar. Add butter and mix until mixture is like breadcrumbs. Add water slowly until dough just holds together. Shape dough into a ball, cling wrap and refrigerate for 1 hour to 2 days.
2. On a slightly floured surface, rol out dough. Press it into a quiche pan. Prick bottom with a fork.
3. Preheat oven to 210 deg C. Line dough with parchment and cover with baking weights. Bake for 20min or until edges are just firm. Remove weights and parchment, bake for 20min more or until slightly golden. Let it cool.
4. Reduce oven to 190 deg C. Fry bacon in a pan till crisp. drain on paper towels and let it cool slightly. break into pieces.
5. Heat up oil from bacon. Add onion and cook till translucent. add maple syrup and 1 tbsp water and cook further for 1min. Let it cool slightly.
6. Whisk together eggs, cream, thyme, salt and add onion mixture. Pour into cooled tart shell. Scatter half the bacon on top.
7. Bake quiche till edges of egg mixture just set (15min). Scatter remaining bacon on top and bake for another 20min till puffed and golden brown. Serve (:

just wanna share this article i read again recently (thanks SK for reminding me of this article and the other one, and for everything<3). i've actually glanced through it a number of times previously, but i never really understood it till i read it again yesterday. i guess it's especially pertinent to me now, which is why i read through it so thoroughly and made it a point to understand it. and so this is a New Year's Resolution for 2014, which is something i think is finally realistic enough for me to fulfil, though the last part would require some effort, and that's what makes it fulfilling:
to do things with love, love more, and love everybody :)
next year is going to be a one with lots of changes and new experiences, and i'm really excited, yet apprehensive at the same time. i really hope it turns out well!! xx wishing everyone an AWESOME 2014! :D